Sending an email with the new emailer
Overview
The new emailer in Brick River makes it easier to design, test, and send emails. You’ll work across four main screens— Settings, Design, Recipients, and Review & Send—to set up your message, choose a layout, select who receives it, and deliver it.
This guide walks you through the full process, from creating a new email to scheduling it for delivery.
Steps
1. Create a new email
- In the New Brick River menu, click Email.
- Click Create a new email.
- The email editor opens with tabs for Settings, Design, Recipients, and Review & Send.
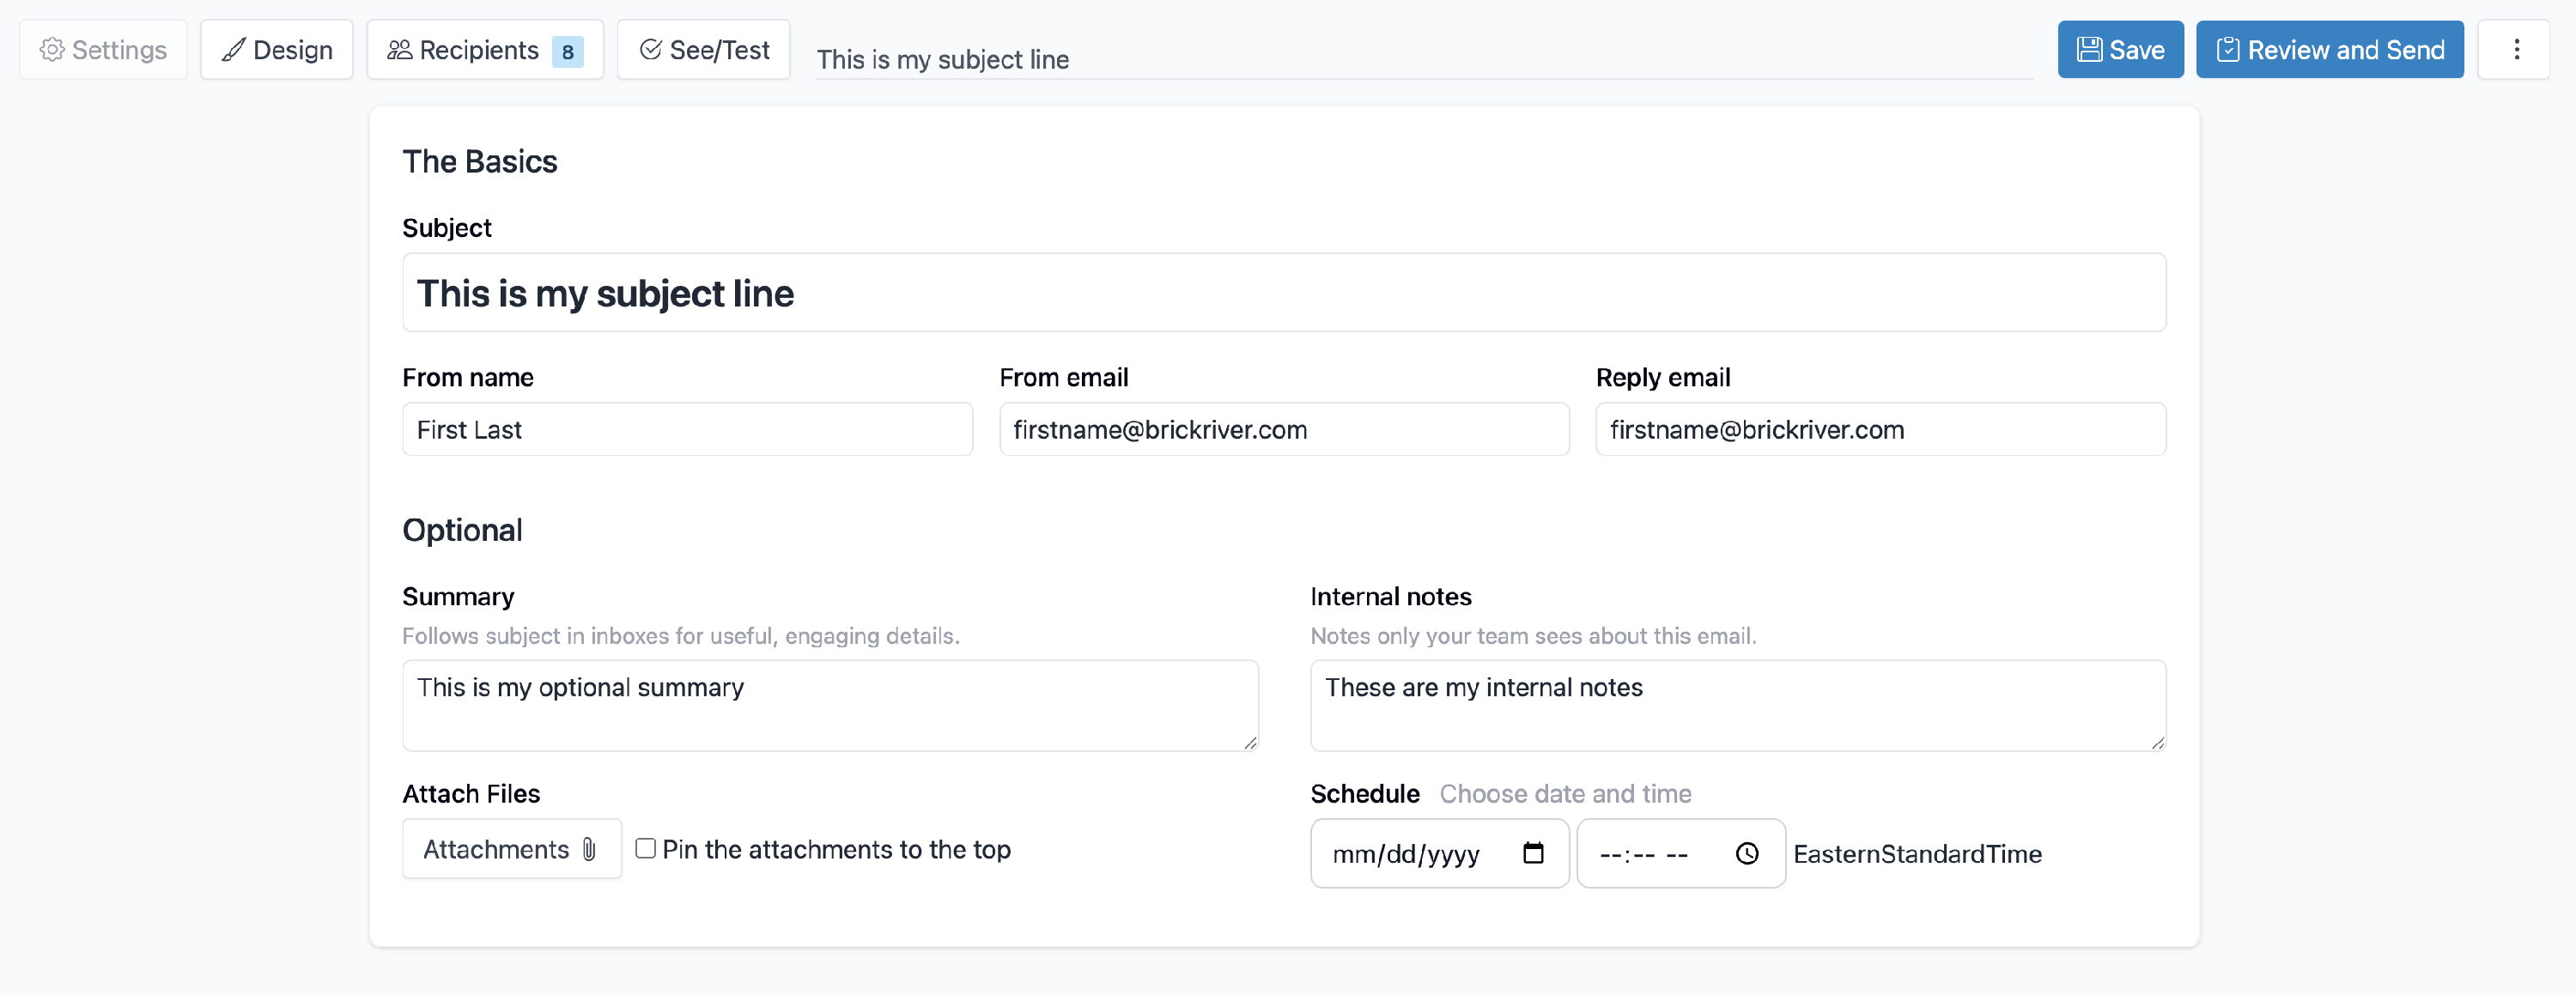
2. Set up the email (Settings tab)
On the Settings tab, fill in the key details:
- Subject – The subject line that recipients see in their inbox.
- From name and address – Choose who the email appears to come from.
- Reply-to address – Set where replies should go.
- Organization name – The sender’s organization name.
- Summary – A short preview that appears after the subject line in many inboxes.
- Attachments – Add files, with the option to pin them at the top of the message or place them at the bottom.
- Schedule send – Choose a future date and time to send.
- Internal notes – Notes for you and your team; these are not visible to recipients.

3. Design the email (Design tab)
On the Design tab, build the body of your email.
- Choose a template – Available templates depend on your permissions.
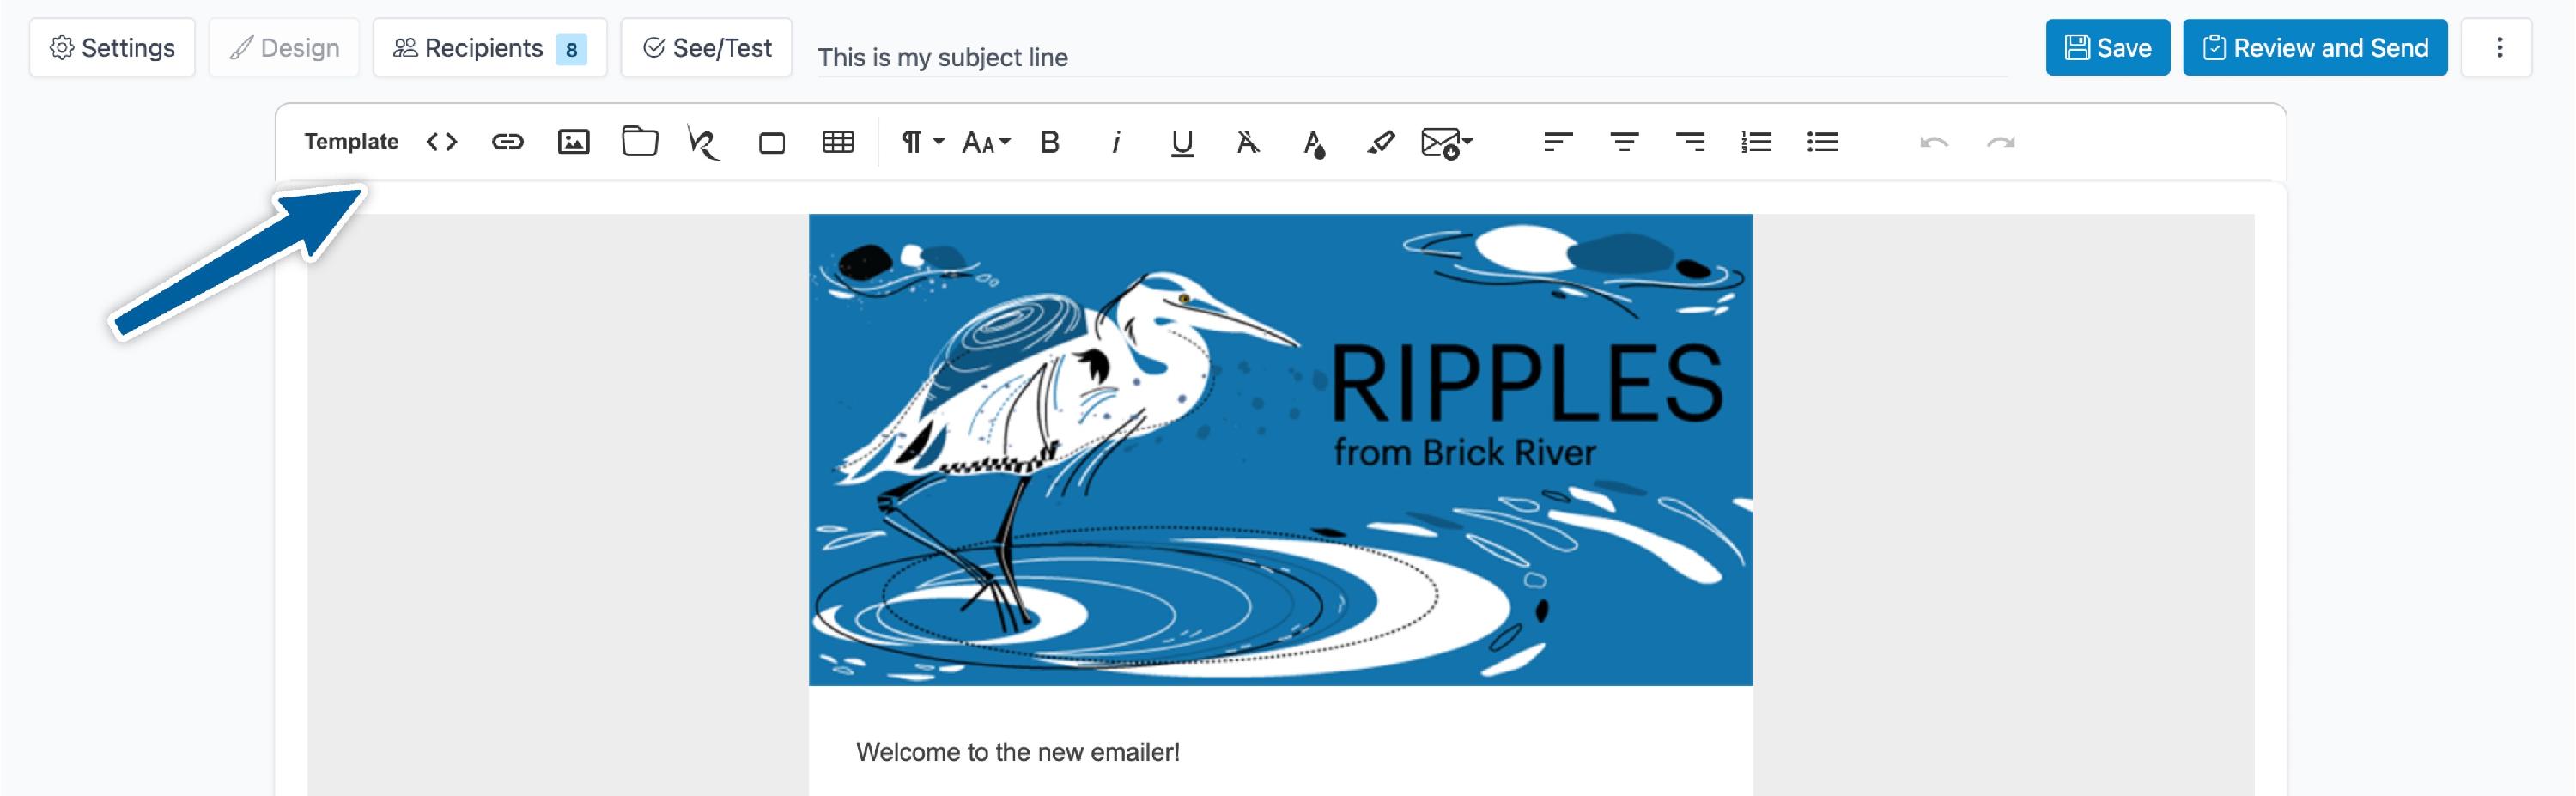
- Use the toolbar – Format text with bold, italics, underline, background colors, and text colors.
- Insert Brick River drop-ins:
- Add articles with images (left, right, or top) and adjust image aspect ratios.
- Pull in public content such as news, events, blog posts, obituaries, or classifieds.
- Insert blank articles to create structure before filling content.
- Add buttons:
- Standard buttons
- Registration buttons (directly link to registration forms)
- Brand-colored buttons (inherit colors from the email publication template)

4. Choose recipients (Recipients tab)
On the Recipients tab, decide who will get your email.
You can build your list in several ways:
- Subscription lists – Add one or more subscription lists. Administrators see all lists; other users see lists based on their permissions.
- Contact views – Pull in contacts from saved views (e.g., People, Organizations, Churches, Volunteers). You can add multiple views to combine audiences.
- CSV upload – Upload a CSV file of email addresses. These are used only for this send and automatically stored in the Miscellaneous Recipients view.
- Manual entry – Add individual email addresses by hand. These are also stored in Miscellaneous Recipients.
Other options on this tab:
- Exclude recipients – Remove specific people or lists from this send.
- De-dupe button – In the upper right, click De-dupe to eliminate duplicate addresses so each person receives only one copy. (Recommended for most emails.)
- In rare cases, you may leave de-dupe off—for example, if sending a data form that needs to match multiple contact records.
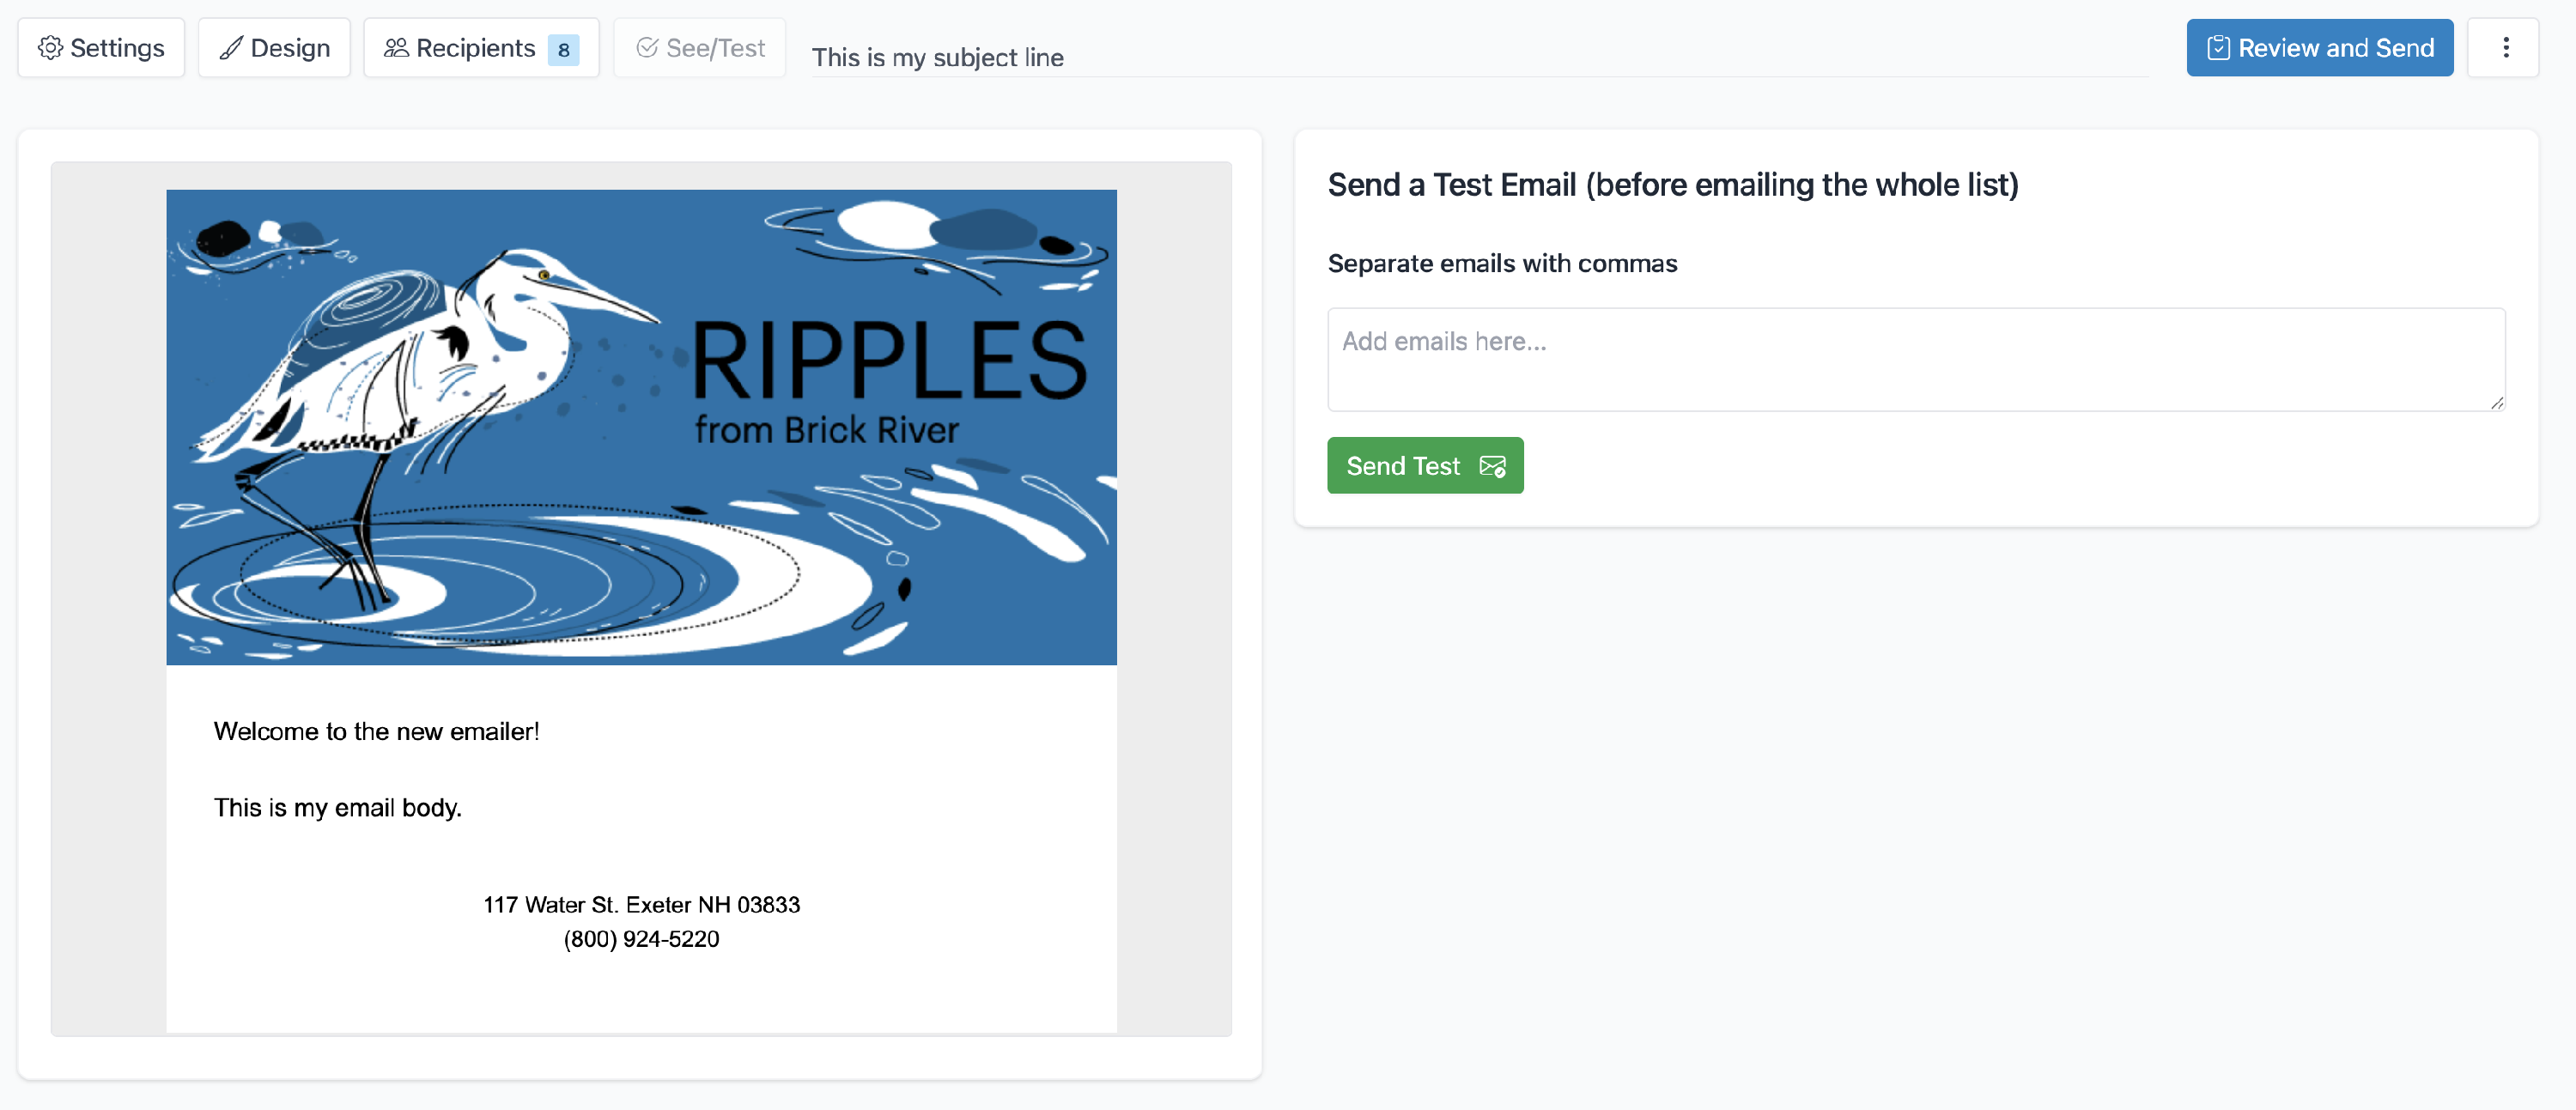
5. Preview and test (C/Test button)
Click the C/Test button to:
- Preview the email as it will appear to recipients.
- Send test emails to yourself or teammates before sending to your list.

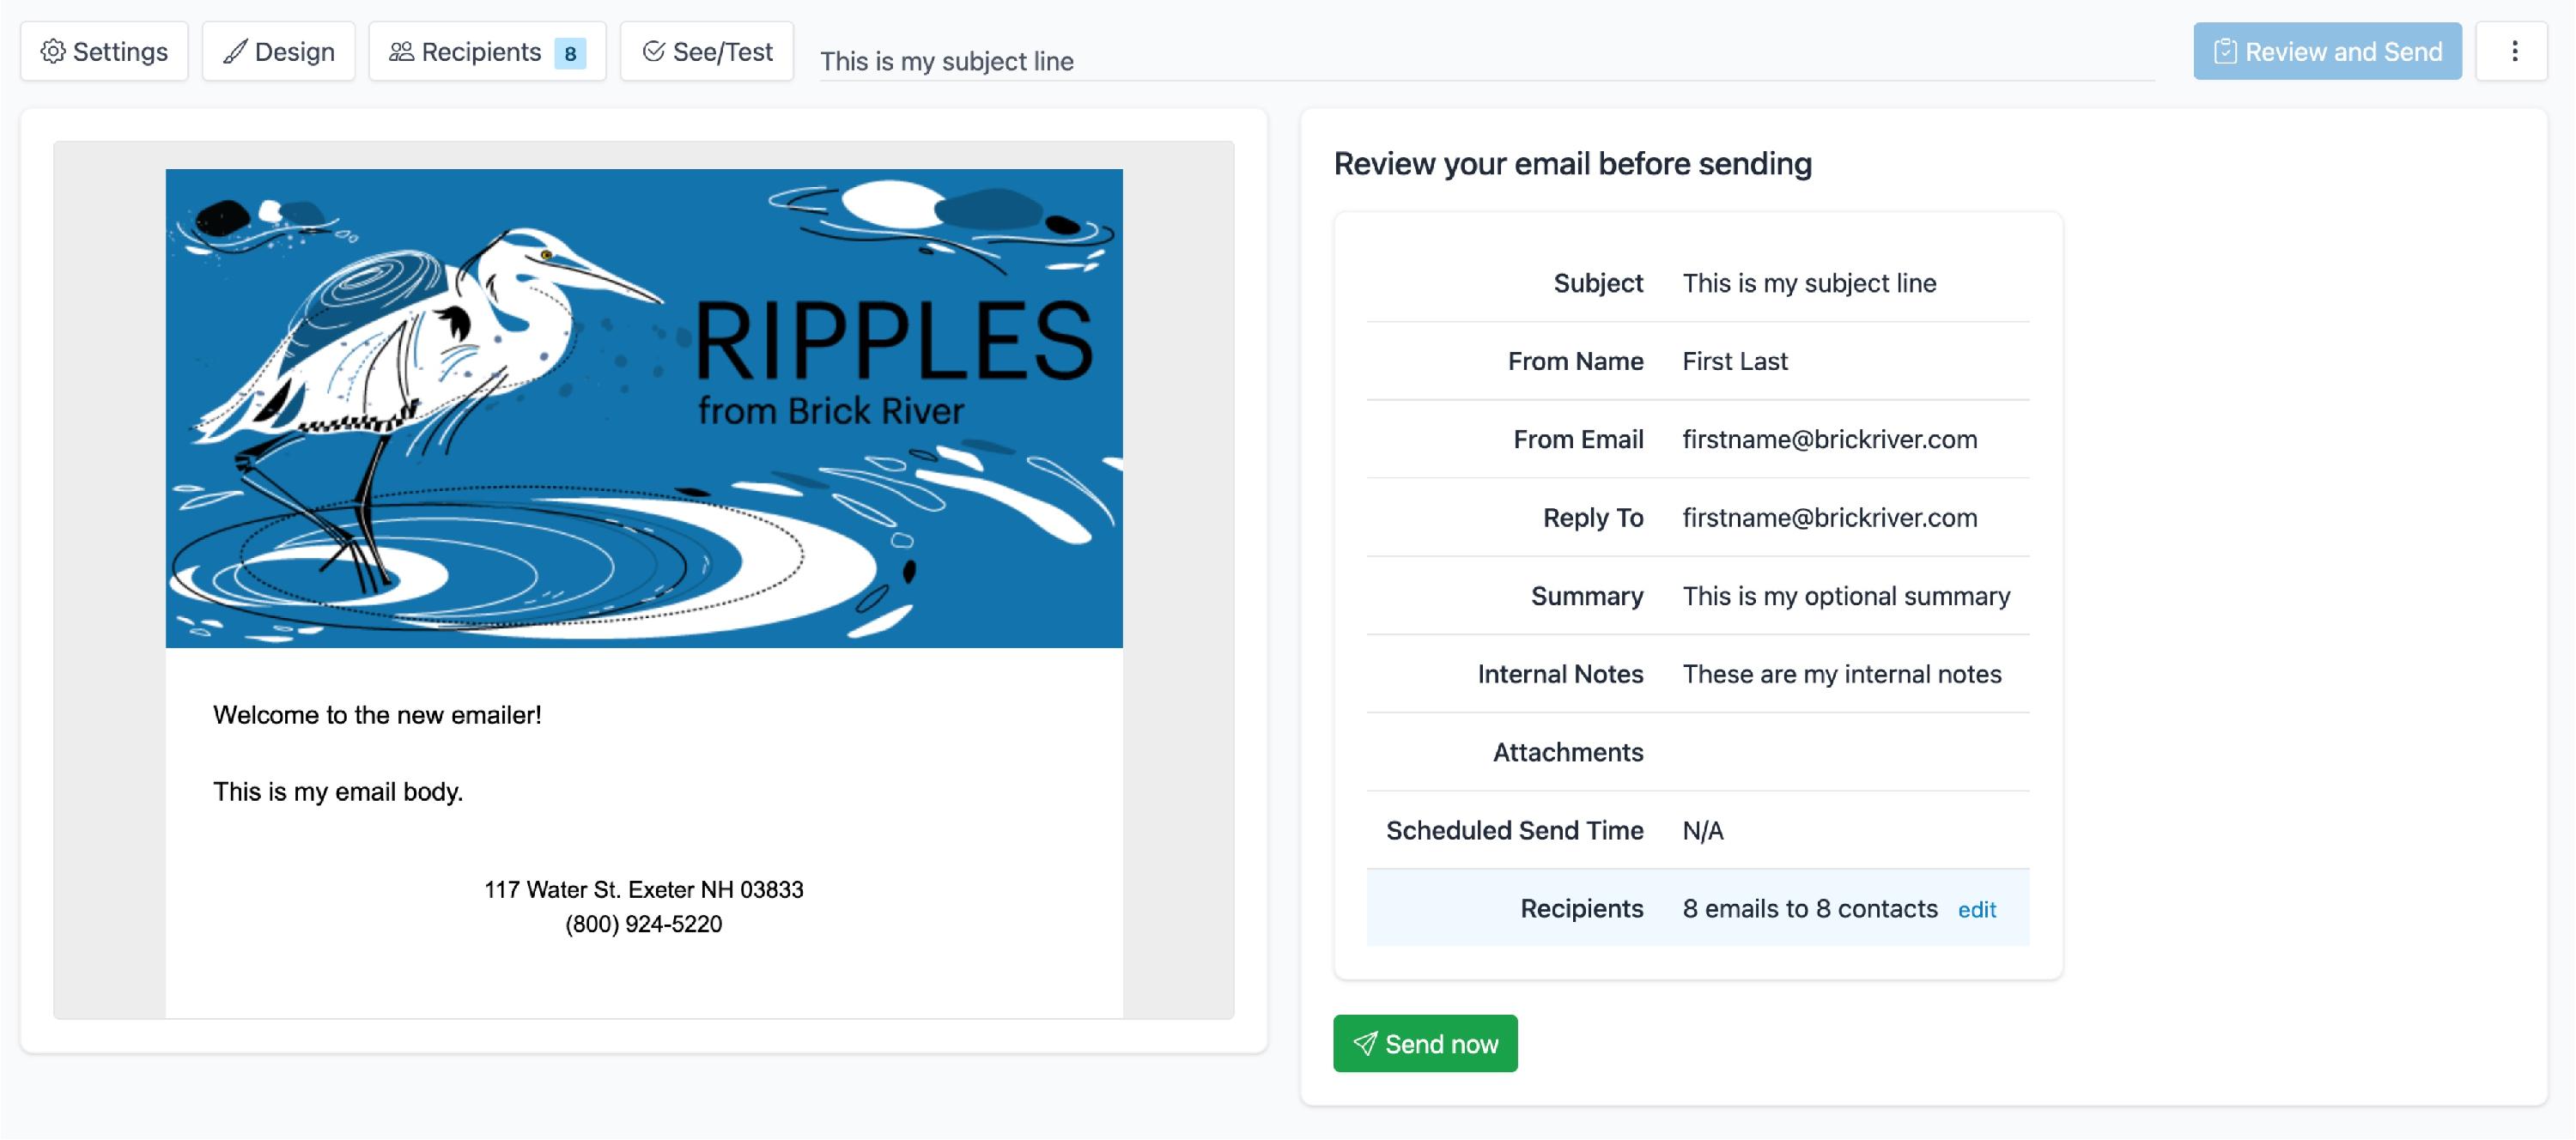
6. Review and send (Review & Send tab)
On the Review & Send tab:
- Check for errors with the pre-flight review.
- Send immediately, or enqueue the email for scheduled delivery.

7. Use additional options (⋮ menu)
In the top-right ⋮ menu, you can:
- Transfer the email draft to another team member.
- Delete the email if you no longer need it.
Tips and best practices
- Always add a Summary—many recipients will see this in their inbox preview.
- Use internal notes to track why you’re sending the email or who approved it.
- Send yourself a test email to confirm formatting before scheduling the real send.
- Use brand-colored buttons for a consistent, professional look.