People Portal Design
Designing Your People Portal Space
Before setting up a People Portal, you’ll want to make some decisions about how to design the home page (and if you don’t know much about the People Portal yet, you may want to see an overview here). This is the “portal” itself, which simply serves as a doorway to a variety of information and tools. There are two primary spaces on the home page: one for general information (the larger space on the right side of the screen) and one for targeted forms, reports, and other resources, which are listed as a menu of links on the left side of the screen inside a black box (called the left sidebar).
GENERAL INFORMATION
This is the larger, open space on the home page of the People Portal that can be customized in two ways:
Content for Everyone
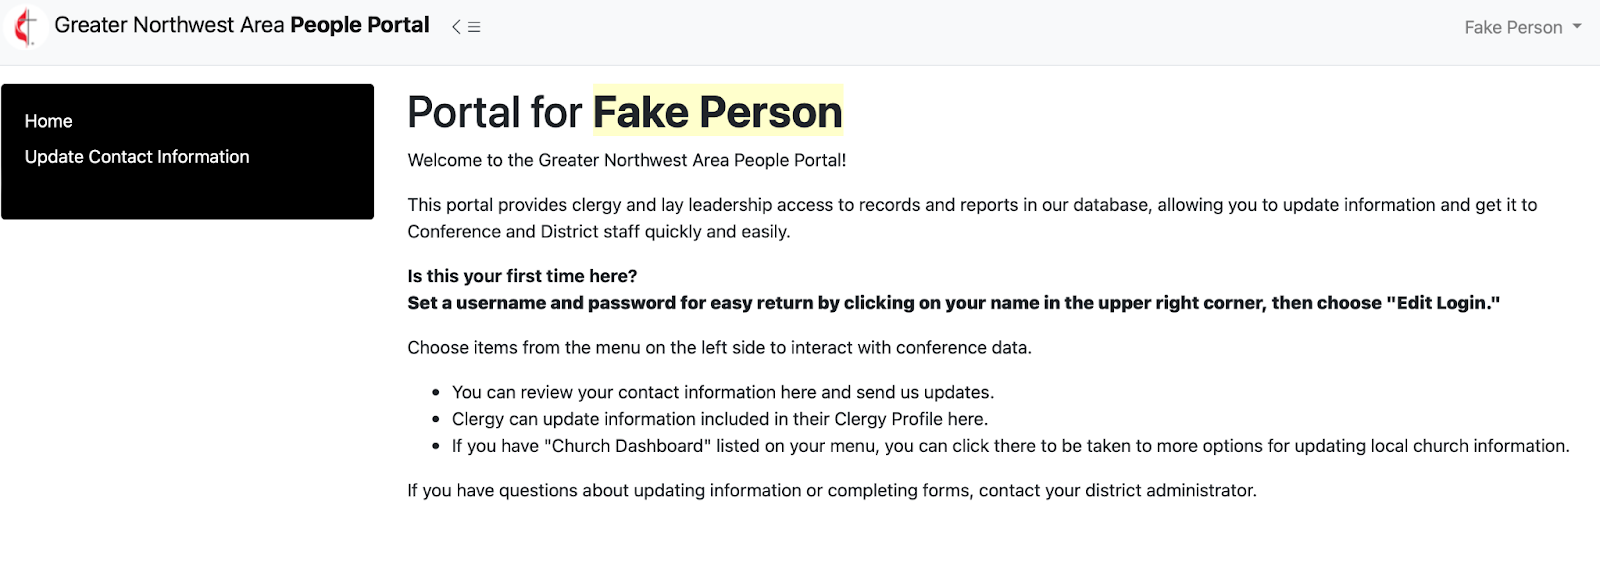
- All persons who open their People Portal will see a basic welcome, sign-in information, instructions about how to get help … whatever you choose to place there. You can control and change this content, but it will be visible to everyone who opens their People Portal, regardless of how you’ve set up permission-specific content. When you’re just rolling out your Portal, you’ll want to emphasize information about how to use it and where to get help. Later, you can change that information to include specific, targeted announcements.
- You’ll design and edit this content as you would for any webpage. Once logged into Brick River, look for Site on the top black bar. Under the Site menu, look at the first list with the gray title Manage Pages and select your website. Then, navigate to the People Portal Home webpage.
- Remember, this content is visible on every People Portal home page, so it’s a good way to supply “how-to” information for navigating the Portal.
Customized Content
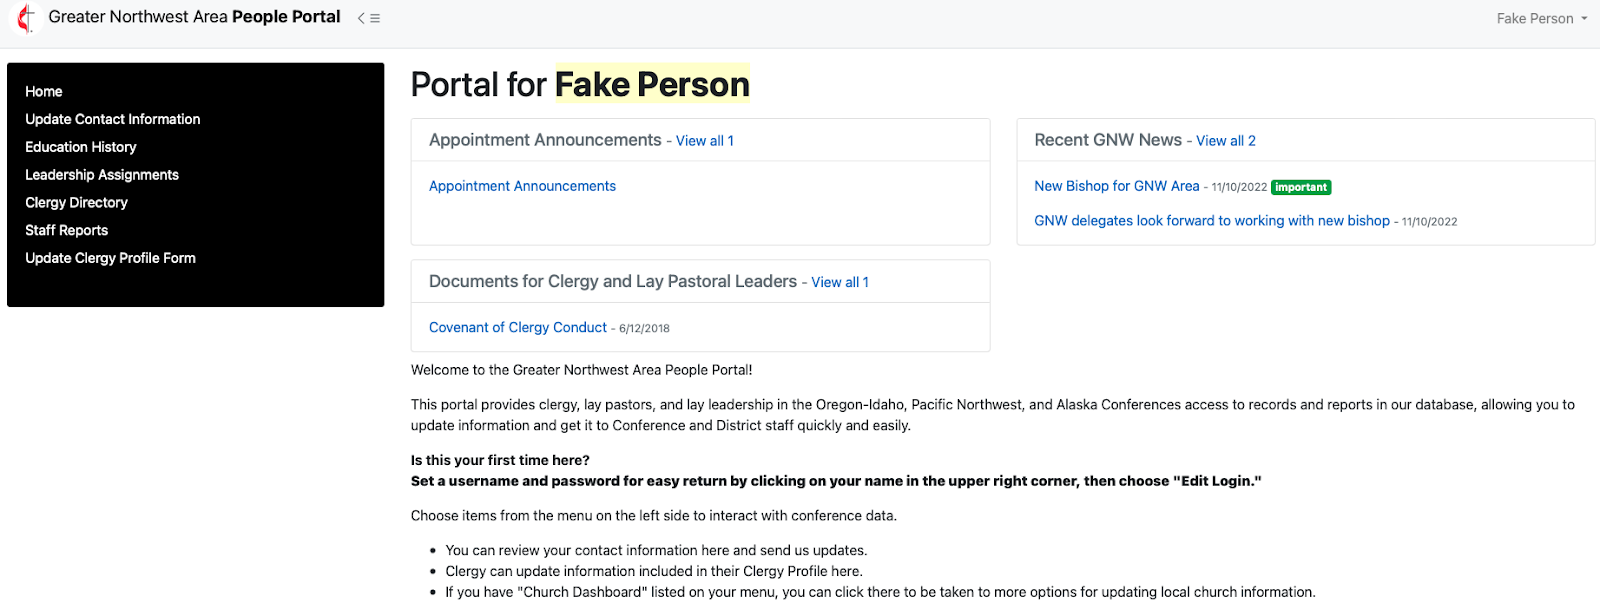
- These are People Portal Posts, and like the content for everyone, these also appear on the right side of the screen, but they can be customized for specific groups. In the screenshot below, our “Fake Person” has been given permission to view some specific categories of Posts: Appointment Announcements, Recent GNW News, and Documents for Clergy and Lay Pastoral Leaders. All Posts that are tagged in any of those categories will appear in Fake Person’s People Portal. Notice that these posts push the General Information farther down the page. You might want to hold off on the Posts until your folks are comfortable accessing and using the Portal (and no longer need so much “help” info right up front). Watch a video about creating People Portal Posts here.
TARGETED INFORMATION
This is the list of titles that appear in the left sidebar of the People Portal home page. There are a number of default options, plus you can further customize the list through the use of Data Forms and FormVites.
Below is an overview of some standard resources available in the People Portal. Details about how to implement those are in the Setting Up the People Portal document, but it’s a good idea to decide first which resources you want to implement. If you want some examples of how to roll out the menu options gradually, look at our Using the People Portal document.
Remember, you have control over which of these resources to put in your Portal and who will have access to which ones. Depending on your choices, participants can:
- Change their People Portal login username and password
- Update their contact information in their People record
- Or view their contact information, then enter changes into a form from which an administrator can update the People record
- View their own leadership assignments (past assignments as well as current ones)
- Update their educational background
- Submit CEUs; view and print reports
- View and print a record of their trainings
- View a directory (photos and contact info) for all conference clergy
- Use FormVites to complete a variety of reports, such as:
- Annual reports for extension ministers, deacons, honorably located clergy
- Annual ethics requirements
- Continuing education report
- Anything that can be accomplished via a reg form can be made into a FormVite and linked into the People Portal for the specific groups who need that form
- Use Data Forms to update information such as a clergy profile
- Jump directly to their church’s dashboard to complete charge conference forms or submit year-end reports via AC Stats
- Submit and sign information for the clergy compensation form
After you’ve made some decisions about the design, and who will be accessing which tools, it’s time for the setup, which is detailed in this document.